How to Cut Acrylic Nails: A Step-by-Step Guide
If you’re looking to cut your acrylic nails, you’ve come to the right place. Whether you want to reduce the length of your nails or shape them, there are a few things you need to know to get the job done correctly. In this article, we’ll show you how to cut acrylic nails like a pro, so you can keep your nails looking great and feeling comfortable.
Cutting acrylic nails can be a bit tricky, but with the right tools and technique, you can do it easily. First, you need to choose the right type of file to reduce the length of your nails. A coarse file (around 100 grit) can help you reduce the length of your acrylic nails quickly, while a medium file (180-220 grit) gives you more control. Once you’ve reduced the length of your nails, you can shape them using a medium or fine file (400-600 grit) to achieve the desired look.
In addition to the right tools, you’ll need to know the proper technique for cutting acrylic nails. Using acrylic nail clippers is one of the easiest and most straightforward methods. You can gently press the blades of the clippers around the tips of your nails, do a single snip, or gradually trim down the length of your nails until they reach the desired length. Then, use a nail file to shape and smooth out any rough edges.
Contents
Understanding Acrylic Nails
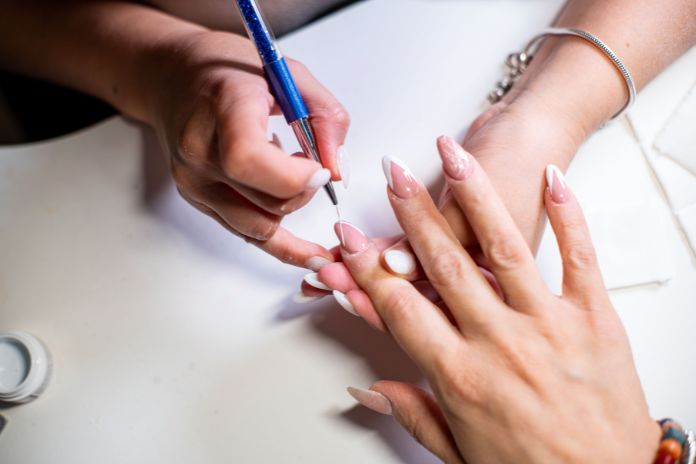
If you’re looking for a way to add some length or strength to your nails, acrylic nails might be the perfect solution for you. Acrylic nails are made by combining a liquid monomer with a powder polymer to create a paste that can be shaped and molded into a nail shape. Once the paste is applied to your natural nails, it hardens into a durable, long-lasting nail extension.
Acrylic nails are popular for several reasons. They can help you achieve the look of longer, stronger nails without having to wait for your natural nails to grow out. They can also be customized with a variety of colors and designs, making them a great option for special occasions or just for everyday wear.
However, it’s important to understand that acrylic nails do require some maintenance and upkeep to keep them looking their best. Here are a few things to keep in mind:
- Acrylic nails can be prone to lifting or breaking if they are not applied or maintained properly. It’s important to choose a qualified nail technician who has experience working with acrylic nails to ensure that they are applied correctly.
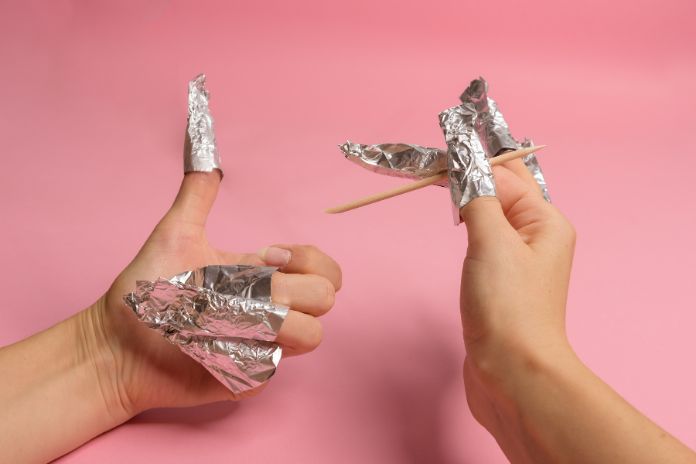
- Acrylic nails can also cause damage to your natural nails if they are not removed properly. If you decide to remove your acrylic nails, it’s important to have them professionally removed to avoid damaging your natural nails.
- Acrylic nails can be difficult to remove at home, so it’s best to leave removal to the professionals. Attempting to remove acrylic nails at home can cause damage to your natural nails and may also be painful.
Overall, acrylic nails can be a great way to achieve the look of longer, stronger nails. However, it’s important to understand the potential risks and to take proper care of your acrylic nails to keep them looking their best.
Tools Needed for Cutting Acrylic Nails
If you want to cut your acrylic nails at home, you will need some basic and advanced tools. Here are some of the tools you will need:
Basic Tools
-
Nail clippers: You can use regular nail clippers to cut your acrylic nails. However, it is recommended to use acrylic nail clippers for better results. Acrylic nail clippers are specifically designed to cut through the hard material of acrylic nails.
-
Nail file or emery board: You will need a nail file or emery board to shape and smooth out the edges of your nails after cutting them. It is best to use a fine-grit file or emery board to avoid damaging your nails.
Advanced Tools
- Motorized nail grinder: A motorized nail grinder can be used to file down acrylic nails. However, this tool requires some skill and experience to use properly. If you are not comfortable using a motorized nail grinder, it is best to stick to basic tools.
When choosing your tools, make sure they are of good quality and are designed for cutting or filing acrylic nails. Using the wrong tools can damage your nails and cause discomfort.
In summary, to cut your acrylic nails at home, you will need basic tools like nail clippers and a nail file or emery board. If you have experience using a motorized nail grinder, you can use that as well. Make sure to choose high-quality tools that are specifically designed for cutting or filing acrylic nails.
Preparing to Cut Acrylic Nails
Before you start cutting your acrylic nails, you need to prepare the tools and your hands to ensure that the process is safe and hygienic. Here are some steps to follow:
Clean Your Tools
It is essential to have clean tools before you start cutting your acrylic nails. Dirty tools can introduce bacteria and other harmful microorganisms that can lead to infections. Here are some steps to clean your tools:
- Use soap and water to wash your clippers, nail file, and other tools thoroughly.
- Disinfect your tools by wiping them with rubbing alcohol or hydrogen peroxide.
- Dry your tools with a clean towel or let them air dry.
Wash Your Hands
Washing your hands is crucial to prevent the spread of germs and bacteria. Here’s how to wash your hands properly:
- Wet your hands with clean, running water.
- Apply soap and lather your hands by rubbing them together.
- Scrub your hands for at least 20 seconds. Make sure to clean your palms, the back of your hands, in between your fingers, and under your nails.
- Rinse your hands thoroughly with clean, running water.
- Dry your hands with a clean towel or let them air dry.
By following these steps, you can ensure that your tools are clean, and your hands are free of germs and bacteria before you start cutting your acrylic nails.
Cutting Acrylic Nails with Clippers
Cutting acrylic nails with clippers is a quick and easy way to shorten your nails at home. There are two types of clippers that can be used for this purpose: regular nail clippers and toenail clippers.
Using a Nail Clipper
To use a nail clipper to cut your acrylic nails, follow these steps:
- Start by positioning the clipper on the outside of the nail and cut towards the middle.
- Use the edge of the clipper on the edge of your nail to make a small cut towards the center.
- Try to angle the clippers diagonally upwards towards the center of the nail, so there is a small point at the center.
- Repeat the process until you have achieved the desired length.
When using nail clippers, it is important to make sure that the clippers are sharp. Dull clippers can cause the acrylic to crack or split, which can lead to an uneven cut.
Using Toenail Clippers
Toenail clippers can also be used to cut acrylic nails. Here’s how:
- Start by positioning the clipper on the outside of the nail and cut towards the middle.
- Use the edge of the clipper on the edge of your nail to make a small cut towards the center.
- Try to angle the clippers diagonally upwards towards the center of the nail, so there is a small point at the center.
- Repeat the process until you have achieved the desired length.
Toenail clippers are larger and stronger than regular nail clippers, which makes them ideal for cutting thicker acrylic nails. However, they can also be harder to maneuver, so it is important to take your time and be careful when using them.
In conclusion, cutting acrylic nails with clippers is a simple and effective way to maintain your nails at home. Whether you choose to use regular nail clippers or toenail clippers, just make sure that the clippers are sharp and that you take your time to achieve the desired length.
Cutting Acrylic Nails with a Nail File
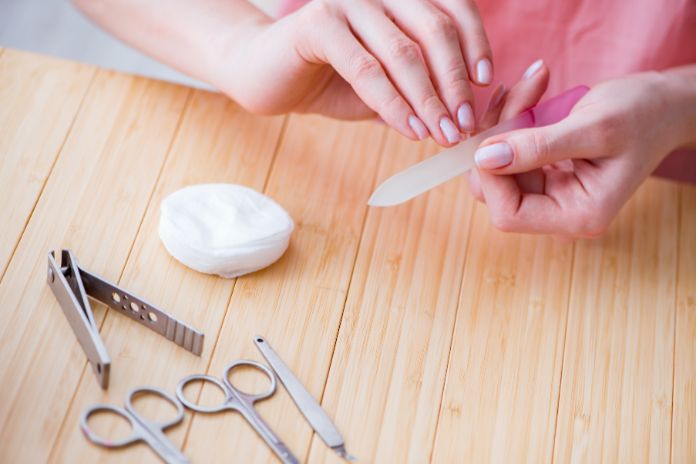
If you want to shorten your acrylic nails, filing them is a great option. Filing your nails with a nail file is a simple process that you can do at home. Here are the steps to follow:
Filing Acrylic Nails
-
Choose the right nail file: A medium nail file with a grit of 180 to 220 is perfect for filing acrylic nails. Emery boards or metal files can also be used.
-
File the sides of your nails: Hold the file at a 45-degree angle to your nails and file the sides of your nails in one direction. Do not file back and forth, as this can cause your nails to split.
-
File the top of your nails: Hold the file parallel to your nails and file the top of your nails in one direction. Start from one corner and move towards the center, then repeat on the other side.
-
Check your progress: Stop filing when your nails are the desired length. Be careful not to file too much, as this can damage your natural nails.
Filing the Tips
-
Choose the right nail file: A coarse nail file with a grit of around 100 is best for filing the tips of your nails.
-
Position the file: Hold the file at a 45-degree angle to your nails and position it on the tip of your nail.
-
File the tip: File the tip of your nail in one direction, using the edge of the file. Be careful not to file too much, as this can cause your nails to weaken and break.
-
Smooth the edges: Use a fine nail file or buffer to smooth the edges of your nails. This will help prevent them from snagging on things and breaking.
In conclusion, filing acrylic nails with a nail file is a simple and effective way to shorten your nails. By following these steps, you can achieve beautiful, well-manicured nails at home.
Cutting Acrylic Nails with an Acrylic Nail Cutter
If you prefer using a specialized tool to cut your acrylic nails, an acrylic nail cutter may be the perfect option for you. These cutters are designed to cut through thicker acrylic nails with precision and ease. Here’s how to use an acrylic nail cutter to trim your acrylic nails:
-
First, make sure your nails are clean and dry. Remove any nail polish or decorations from your nails before you begin.
-
Hold the acrylic nail cutter in your dominant hand. Place the cutter around the part of the nail you want to trim.
-
Squeeze the handles of the cutter together firmly. The sharp blades of the cutter should slice through the acrylic nail with ease.
-
Release the handles of the cutter and remove it from your nail. If necessary, use a nail file to smooth out any rough edges left behind by the cutter.
-
Repeat the process on each nail until they are all trimmed to your desired length.
When using an acrylic nail cutter, it’s important to be gentle and not apply too much pressure. This can cause the acrylic nail to crack or split, which can be painful and difficult to repair.
If you don’t have an acrylic nail cutter, you can also use regular nail clippers to trim your acrylic nails. However, be aware that these clippers may not be as effective at cutting through thicker acrylic nails, and may leave behind rough edges that need to be filed down.
Overall, an acrylic nail cutter is a great tool to have on hand if you frequently wear acrylic nails. With a little practice, you can use it to trim your nails quickly and easily, without having to visit a salon or spa.
Finishing Touches
After cutting your acrylic nails, it’s important to give them a finishing touch. This will not only make them look polished but also help prevent any damage or breakage. Here are some tips on how to finish your acrylic nails:
Smoothing the Edges
Once you have cut your acrylic nails, you may notice that the edges are jagged or rough. To smooth them out, use a nail file with a fine grit. Gently file the edges in one direction until they are smooth and even. Be careful not to file too much, as this can weaken your nails.
If you prefer a specific shape, such as square or round, use the nail file to shape the edges accordingly. Make sure to file each nail evenly to maintain a uniform look.
Applying Nail Polish
After smoothing the edges, you can apply nail polish to your acrylic nails. First, apply a clear base coat to protect your nails and prevent staining. Then, apply your desired color of nail polish. Allow the first coat to dry completely before applying a second coat for a more vibrant finish.
If you prefer a longer-lasting polish, consider using gel polish. Gel polish requires a UV lamp to cure and can last up to two weeks without chipping. Make sure to follow the instructions carefully when using gel polish.
Once your nail polish has dried, apply a clear top coat to protect your nails and add shine. This will also help your nail polish last longer.
In conclusion, finishing your acrylic nails is an important step in maintaining their appearance and preventing damage. By smoothing the edges and applying nail polish, you can achieve a polished and professional look.
Conclusion
Cutting acrylic nails can seem daunting, but with the right tools and techniques, it can be a simple process. Whether you choose to do it yourself at home or go to a nail salon, it’s important to know the proper steps to ensure your nails stay healthy and strong.
When cutting acrylic nails, it’s essential to use the right tools. Acrylic nail clippers are specifically designed for cutting and trimming acrylic nails and are a worthwhile investment. Using a motorized nail grinder or regular nail file can also help thin out thick nails after cutting.
Be sure to file your nails after cutting to give them the desired shape. Use a high-quality file and only file in one direction to avoid damaging your nails. The best file grit to use is 180/240.
If you’re unsure about cutting your acrylic nails, it’s always best to go to a nail salon. A professional can ensure that your nails are cut and filed correctly, reducing the risk of damage or infection.
Remember to always take care of your nails by keeping them clean and moisturized. Avoid using harsh chemicals and always wear gloves when doing household chores or working with your hands. With these tips, you can keep your acrylic nails looking great and healthy.